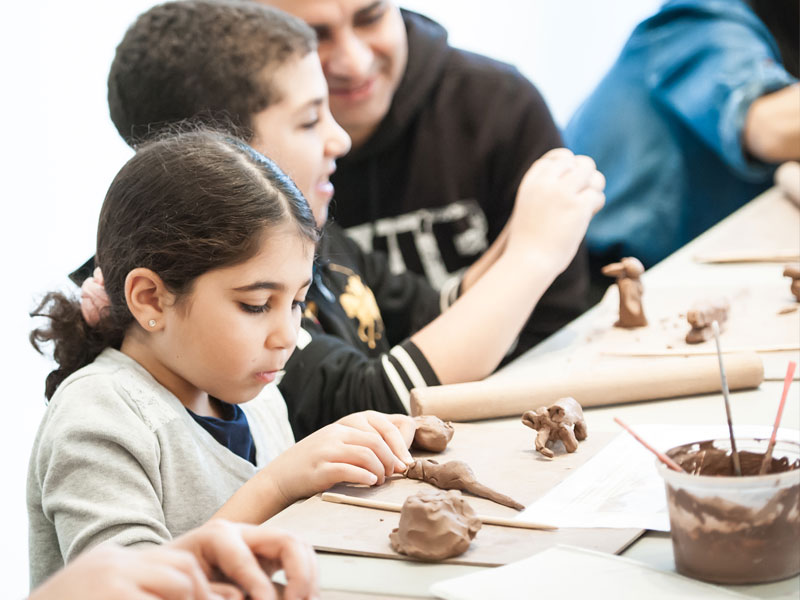
Gone Fishing: Make a Fish Plate
The Gardiner Museum brings together people of all ages and backgrounds through the shared values of creativity, wonder, and community that clay and ceramic traditions inspire.

- This event has passed.
Gone Fishing: Make a Fish Plate
August 9, 2020
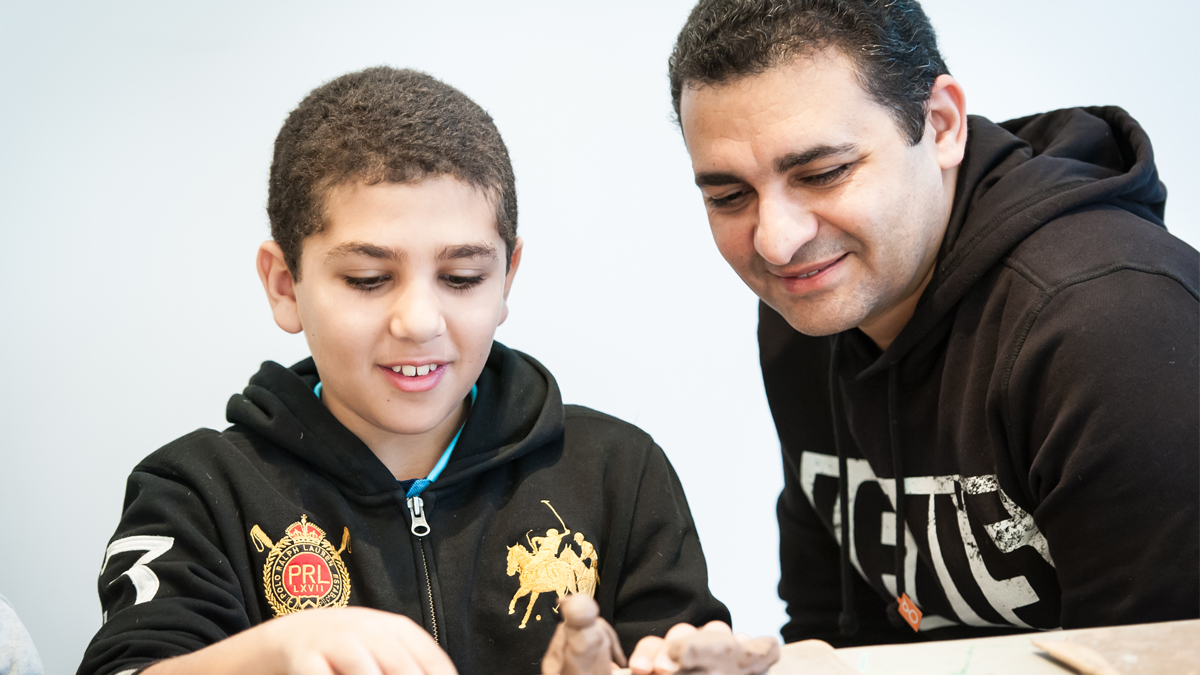
Pottery instructor Karin Pavey shows you how to make your own fish plate at home. Follow the step-by-step instructions and share your work with us. Catch ya later!
You can also download the instructions as a PDF
Materials:
- Clay or other modelling material (try one of our homemade clay recipes)
- Rolling pin
- Plastic knife
- Popsicle stick
- Wood skewer or chopstick
- Water and brush
- Sponge
Instructions:
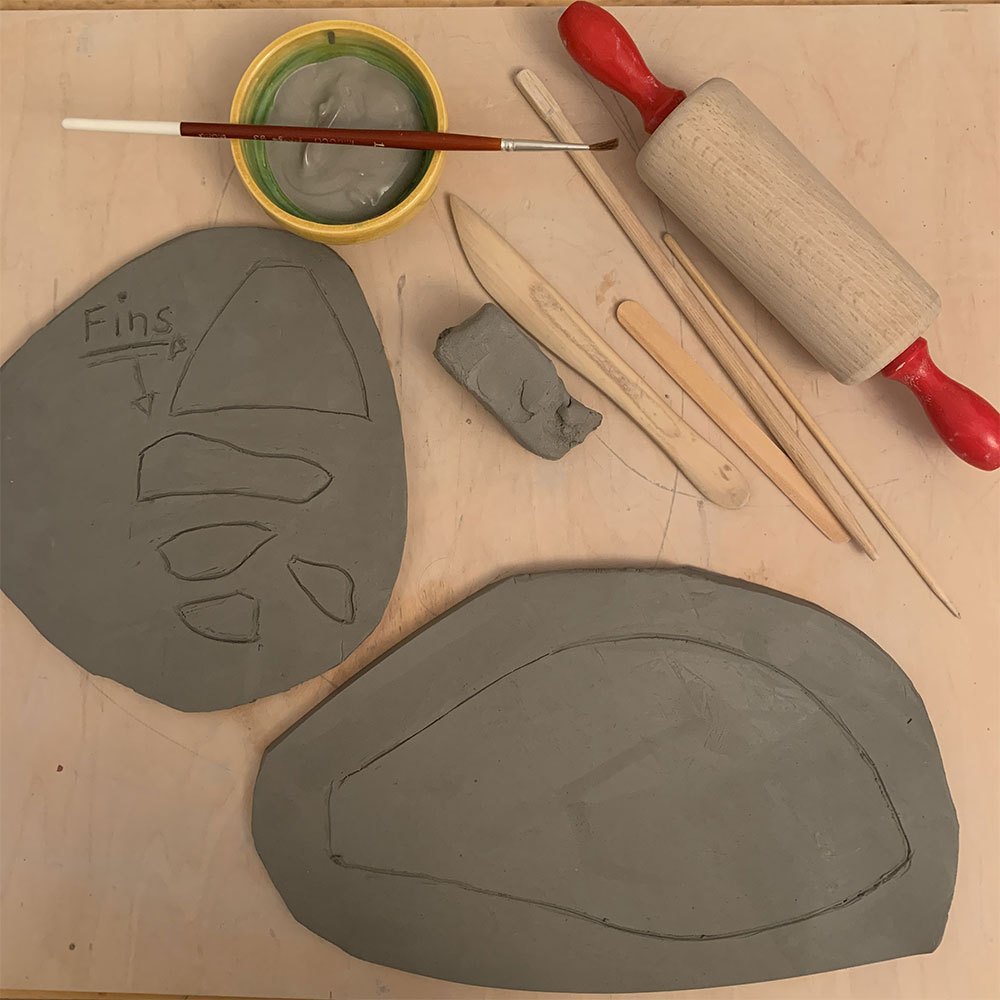
Roll out two slabs of clay or modelling material, one for the fish’s body and the other for its fins.
Draw the outline of your fish with a skewer or chopstick before cutting it out with a knife. Do the same with the fins.
Keep the extra to roll coils for details.
Make lines and scales on the cut-out fins and body with your modelling tool or skewer and a Popsicle stick.
Make a small ball for the fish’s eyeball.
Roll out a couple of small coils for the mouth and gills.
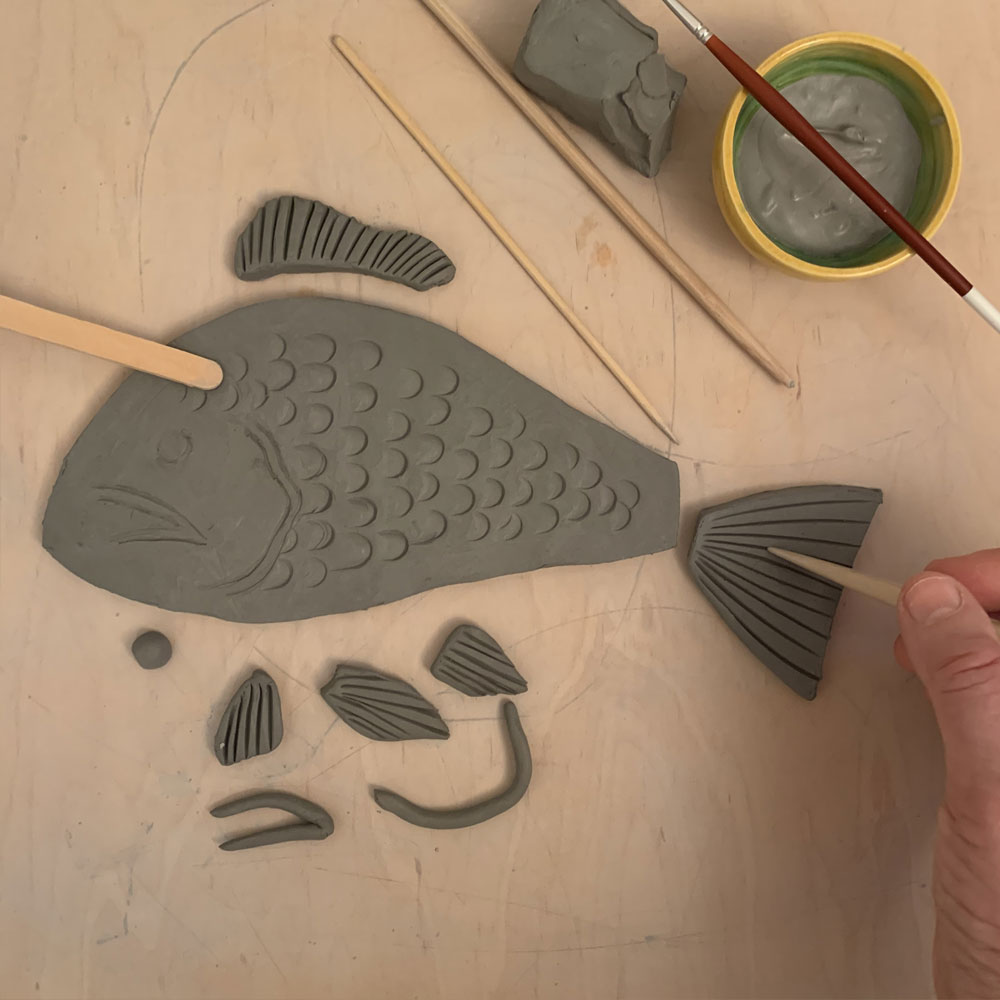
Score (scratch) the eyeball and coils with your skewer and stick them on using a bit of water.
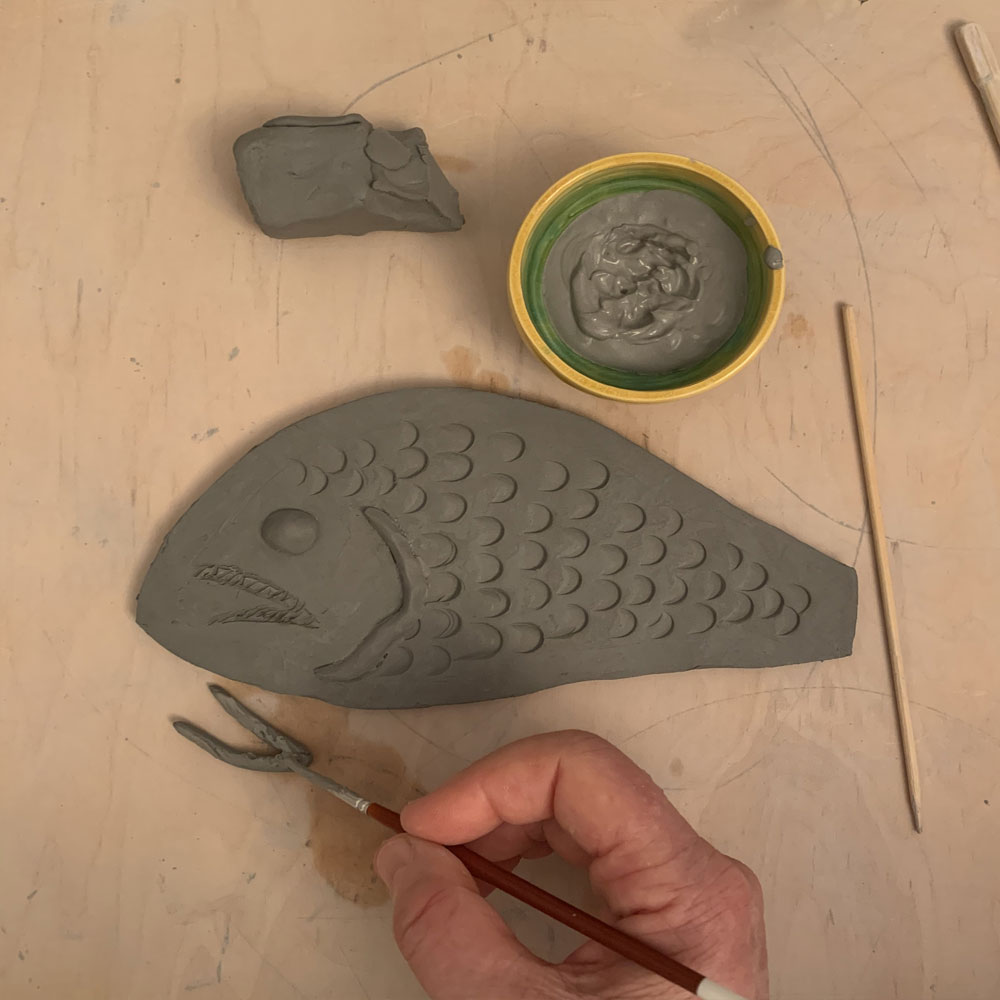
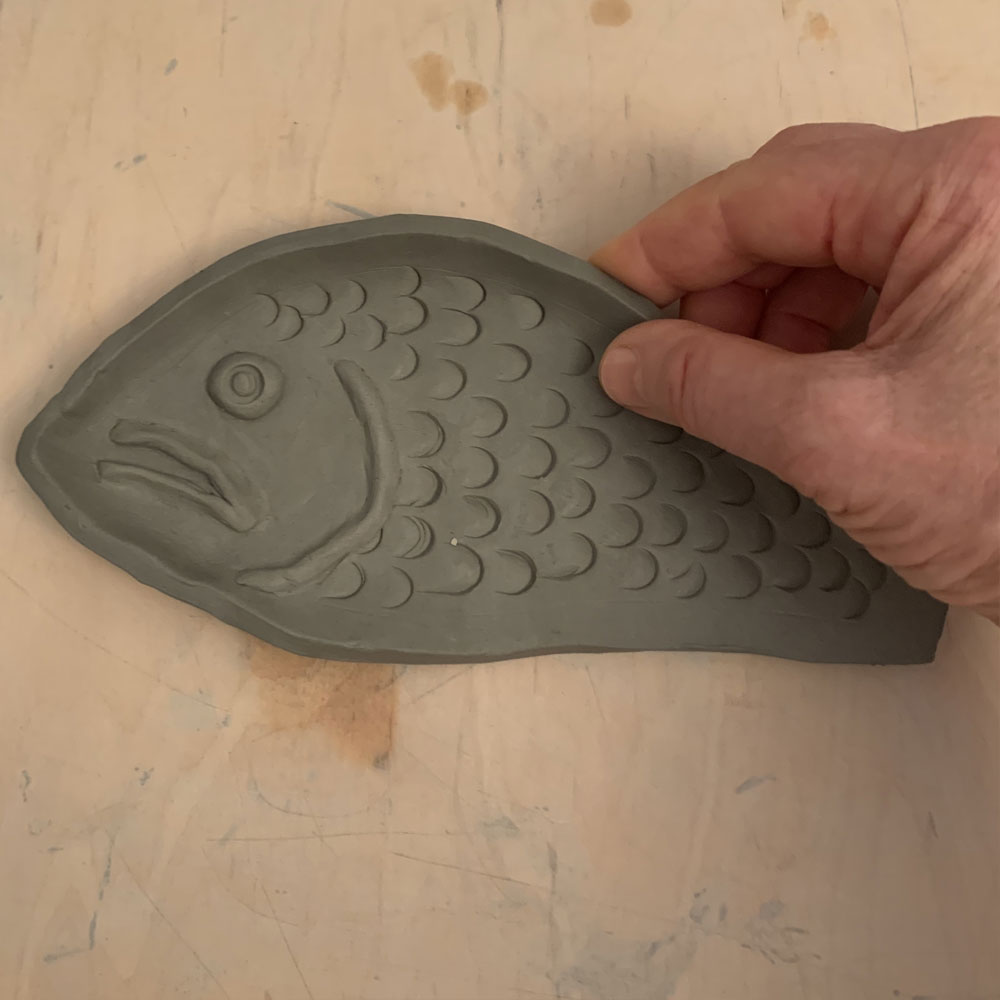
Lift up edges of your fish using both hands to create the desired plate shape.
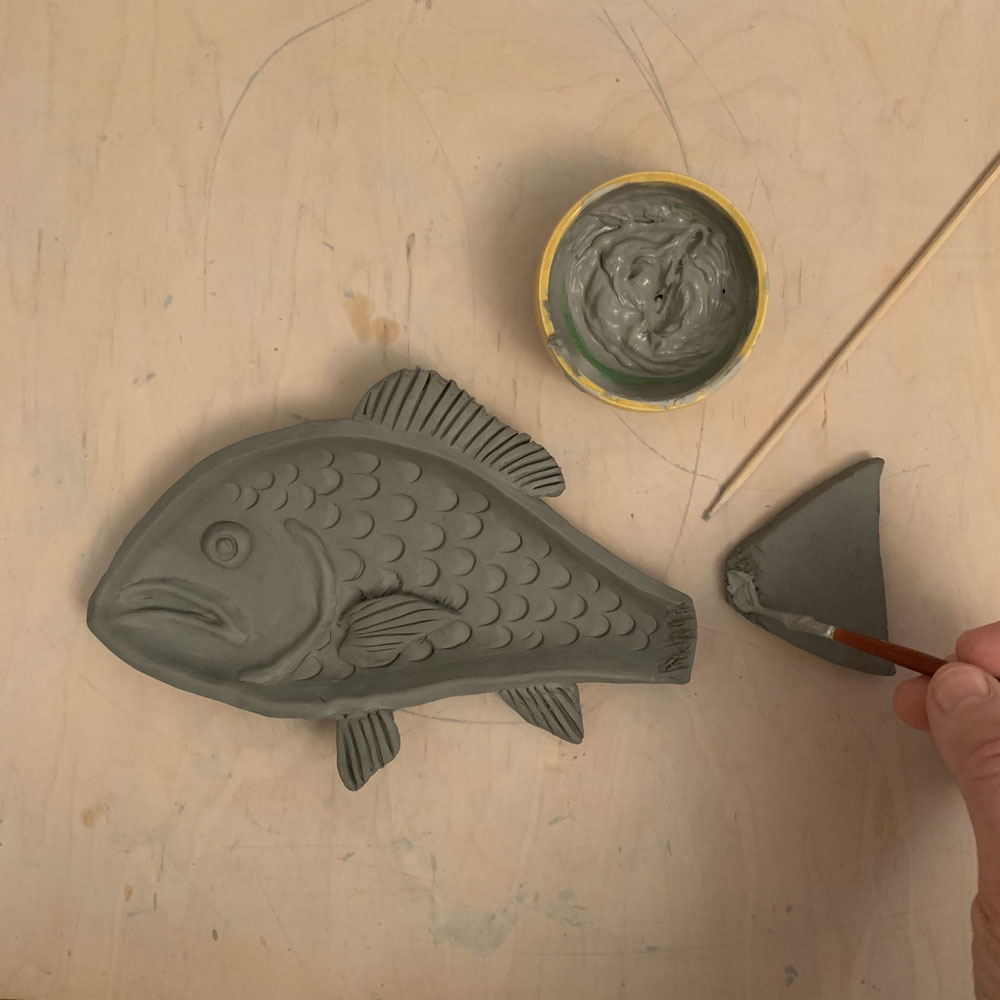
Score (scratch) the tail with your skewer and stick it on using a bit of water.
Press a straw or toothpick into eyeball to create the pupil.
Smooth the coils with your tools or fingers, and use a damp sponge to smooth the edges.
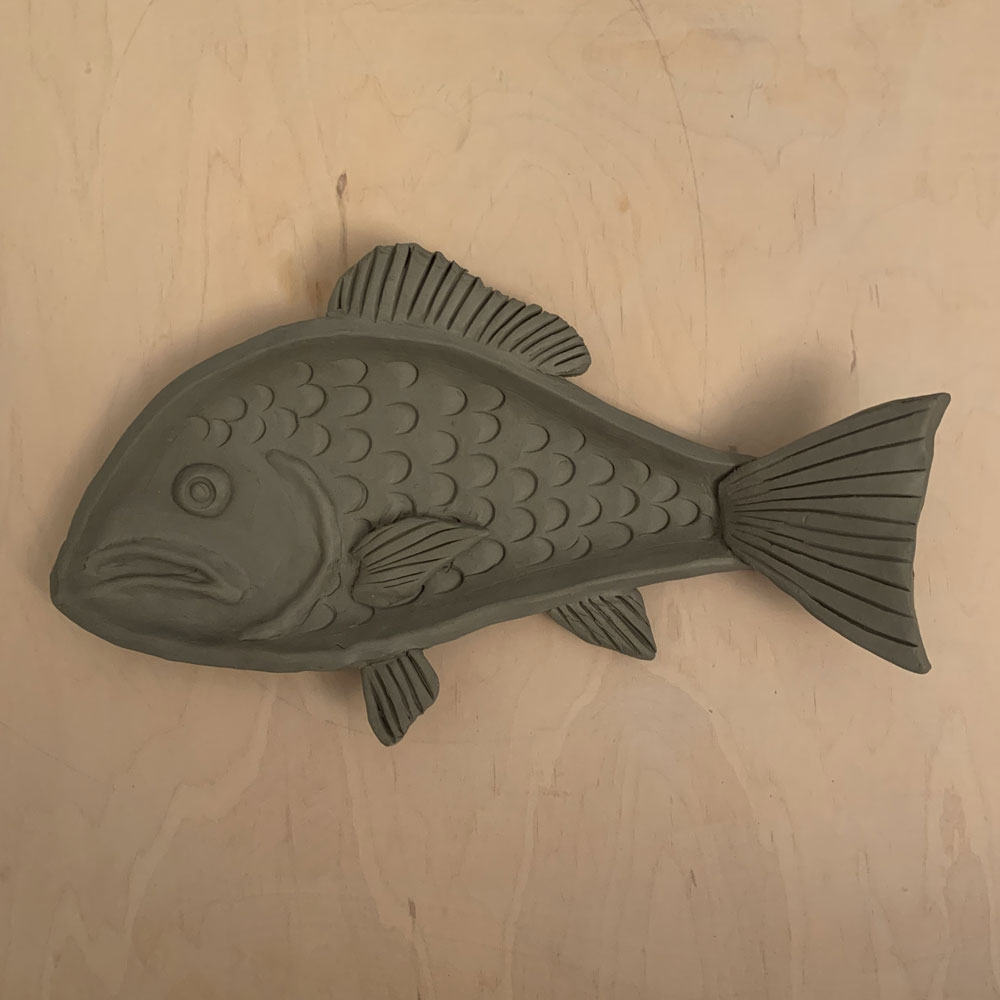
Take a photo of your work and share it using #GardinerFromHome.
